Mon dieu : je viens de constater que la dernière recette que j’ai publiée datait d’à peu près un an! En voici une nouvelle, courte et simplissime, inspirée d’ici. Il s’agit d’une excellente base pour tout plat nécessitant une sauce (tomate). Idéale avec un plat de pâtes 🙂 .
Sauce tomate / Tomato sauce:
Ingrédients :
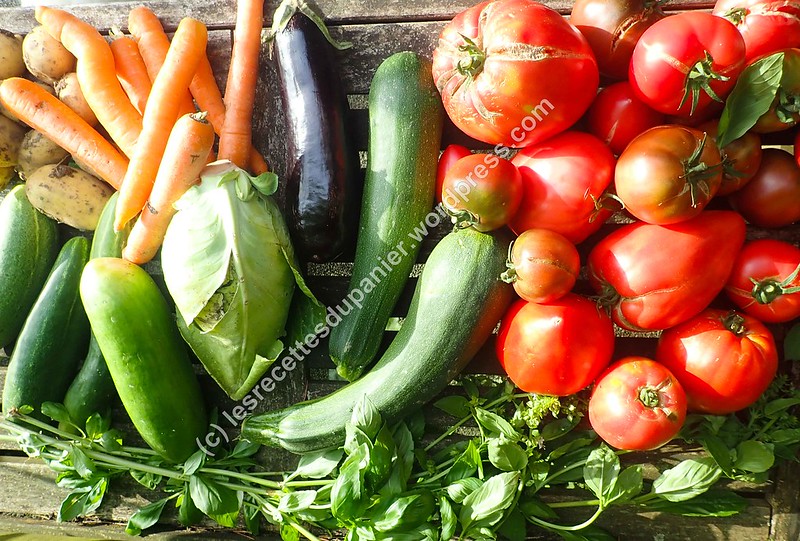
– 2 kg de tomates
– 1 boîte de concentré de tomates
– 5-6 gousses d’ail
– 1 gros oignon
– un peu d’huile d’olive
– 1 cube de bouillon de légumes
– herbes telles que romarin, thym, basilic etc…
– sel, poivre
Préparation :
Hacher l’oignon et l’ail, le faire revenir avec l’huile dans une sauteuse.
Quand l’oignon est transparent, ajouter l’ail puis les tomates fraîches coupées en morceaux, en laissant la peau et les graines. Faire mijoter 20 à 30 min pour que le jus se concentre.
Ajouter le concentré de tomate. Bien mélanger. Retirer du feu. Réduire en purée au mixer plongeant.
Remettre sur le feu. Ajouter les herbes. Rectifier l’assaisonnement et faire mijoter encore 10 min.

English below
My goodness: I just noticed that the last recipe I posted was about a year old! Here’s a new one, short and simple, inspired from here. This is a great base for any dish that requires a (tomato) sauce. Ideal with a pasta dish 🙂 .
Tomato Sauce:
Ingredients:
– 2 kg tomatoes
– 1 tin of tomato paste
– 5-6 garlic cloves
– some olive oil
– 1 vegetable broth cube
– herbs like rosemary, thyme, basil, etc..
– salt, pepper
Preparation:
Chop the onion and the garlic and fry the onion in oil in a saucepan.
When the onion is transparent, add the garlic, then the fresh tomatoes cut into pieces, leaving the skin and seeds. Simmer for 20 to 30 minutes to concentrate the juice.
Add the tomato paste. Mix well. Remove from heat. Puree with a hand blender.
Return to the heat. Add the herbs. Adjust the seasoning and simmer for another 10 minutes.